Property Manager Checklist Before Launching a Valet Trash Program
Launching a valet trash program can lift your NOI, reduce dumpster chaos, and quietly raise your online reviews — but only if the launch is structured. This Property Manager Checklist Before Launching a Valet Trash Program is built for busy property managers who want a clear roadmap, minimal resident pushback, and a provider they can trust, like EcoClear or EcoClear Solutions LLC.
Property Manager Checklist Before Launching a Valet Trash Program
Before launching a valet trash program, property managers should confirm pricing, vendor quality, safety rules, and resident communication. That means setting a resident rate, calculating profit per unit, choosing an insured provider with consistent nightly service, aligning on clear valet trash rules, and preparing a structured launch timeline. Properties that prep resident emails, rule sheets, pickup schedules, and a simple complaint-handling workflow see fewer issues and better reviews. EcoClear Solutions LLC supports property managers with structured rollouts, safety-minded service, and amenity-driven valet trash programs that protect NOI and resident satisfaction.
Quick Q&A Section
How far in advance should I announce valet trash to residents?
Usually, 7–10 days before launch, with at least one reminder a few days before the first pickup.What’s the biggest mistake properties make when rolling out valet trash?
Adding the fee before explaining the value, rules, and schedule — which causes confusion and frustration.Do I need to change my lease to add valet trash?
Many communities add an addendum or update their lease terms; always align with your legal counsel and your provider’s best practices.What should I track after launch?
Complaints, photos of hallways and dumpsters, online reviews, and month-over-month revenue from the program.
Quick-Glance Checklist for Property Managers
If you only have a minute, here’s the fast version of your valet trash launch checklist:
Decide your resident price per unit and target profit per door
Pick a reliable provider with strong safety standards and insurance
Prepare resident communication and a rollout timeline
Confirm valet trash rules align with fire safety and ADA standards
Make sure your dumpster area is ready for nightly use
Set an internal issue-response workflow for your team
Track complaints, reviews, and NOI in the first 60–90 days
The rest of this guide breaks each step down so you can launch with confidence.
Step 1 – Lock In Your Pricing & Profit Targets
Clarify Resident Pricing
Before anything else, decide what residents will be charged monthly. You don’t need to overcomplicate it, but you do need clarity:
Choose a resident price per unit that fits your market
Define your minimum acceptable spread between the resident rate and the provider cost
Decide if you’ll grandfather existing residents or apply it community-wide
If you want help visualizing how much you can earn each month and per year, you can pair this checklist with our interactive Valet Trash Service for Apartments overview, which walks through how valet trash works as a revenue-producing amenity.
Confirm NOI Impact
Once you have ballpark pricing, plug in:
Resident rate per unit
Provider rate per unit
Total unit count
Your goal: a spread that feels fair to residents but still moves the needle on your net operating income. Many managers also keep a simple spreadsheet or calculator handy so they can see how adding just 50–100 more participating units changes the math.
Step 2 – Choose the Right Valet Trash Partner
What to Look For in a Provider
A valet trash program lives or dies on consistency. When you’re evaluating partners:
Ask about nightly service windows and backup coverage
Confirm who handles missed pickups and re-runs
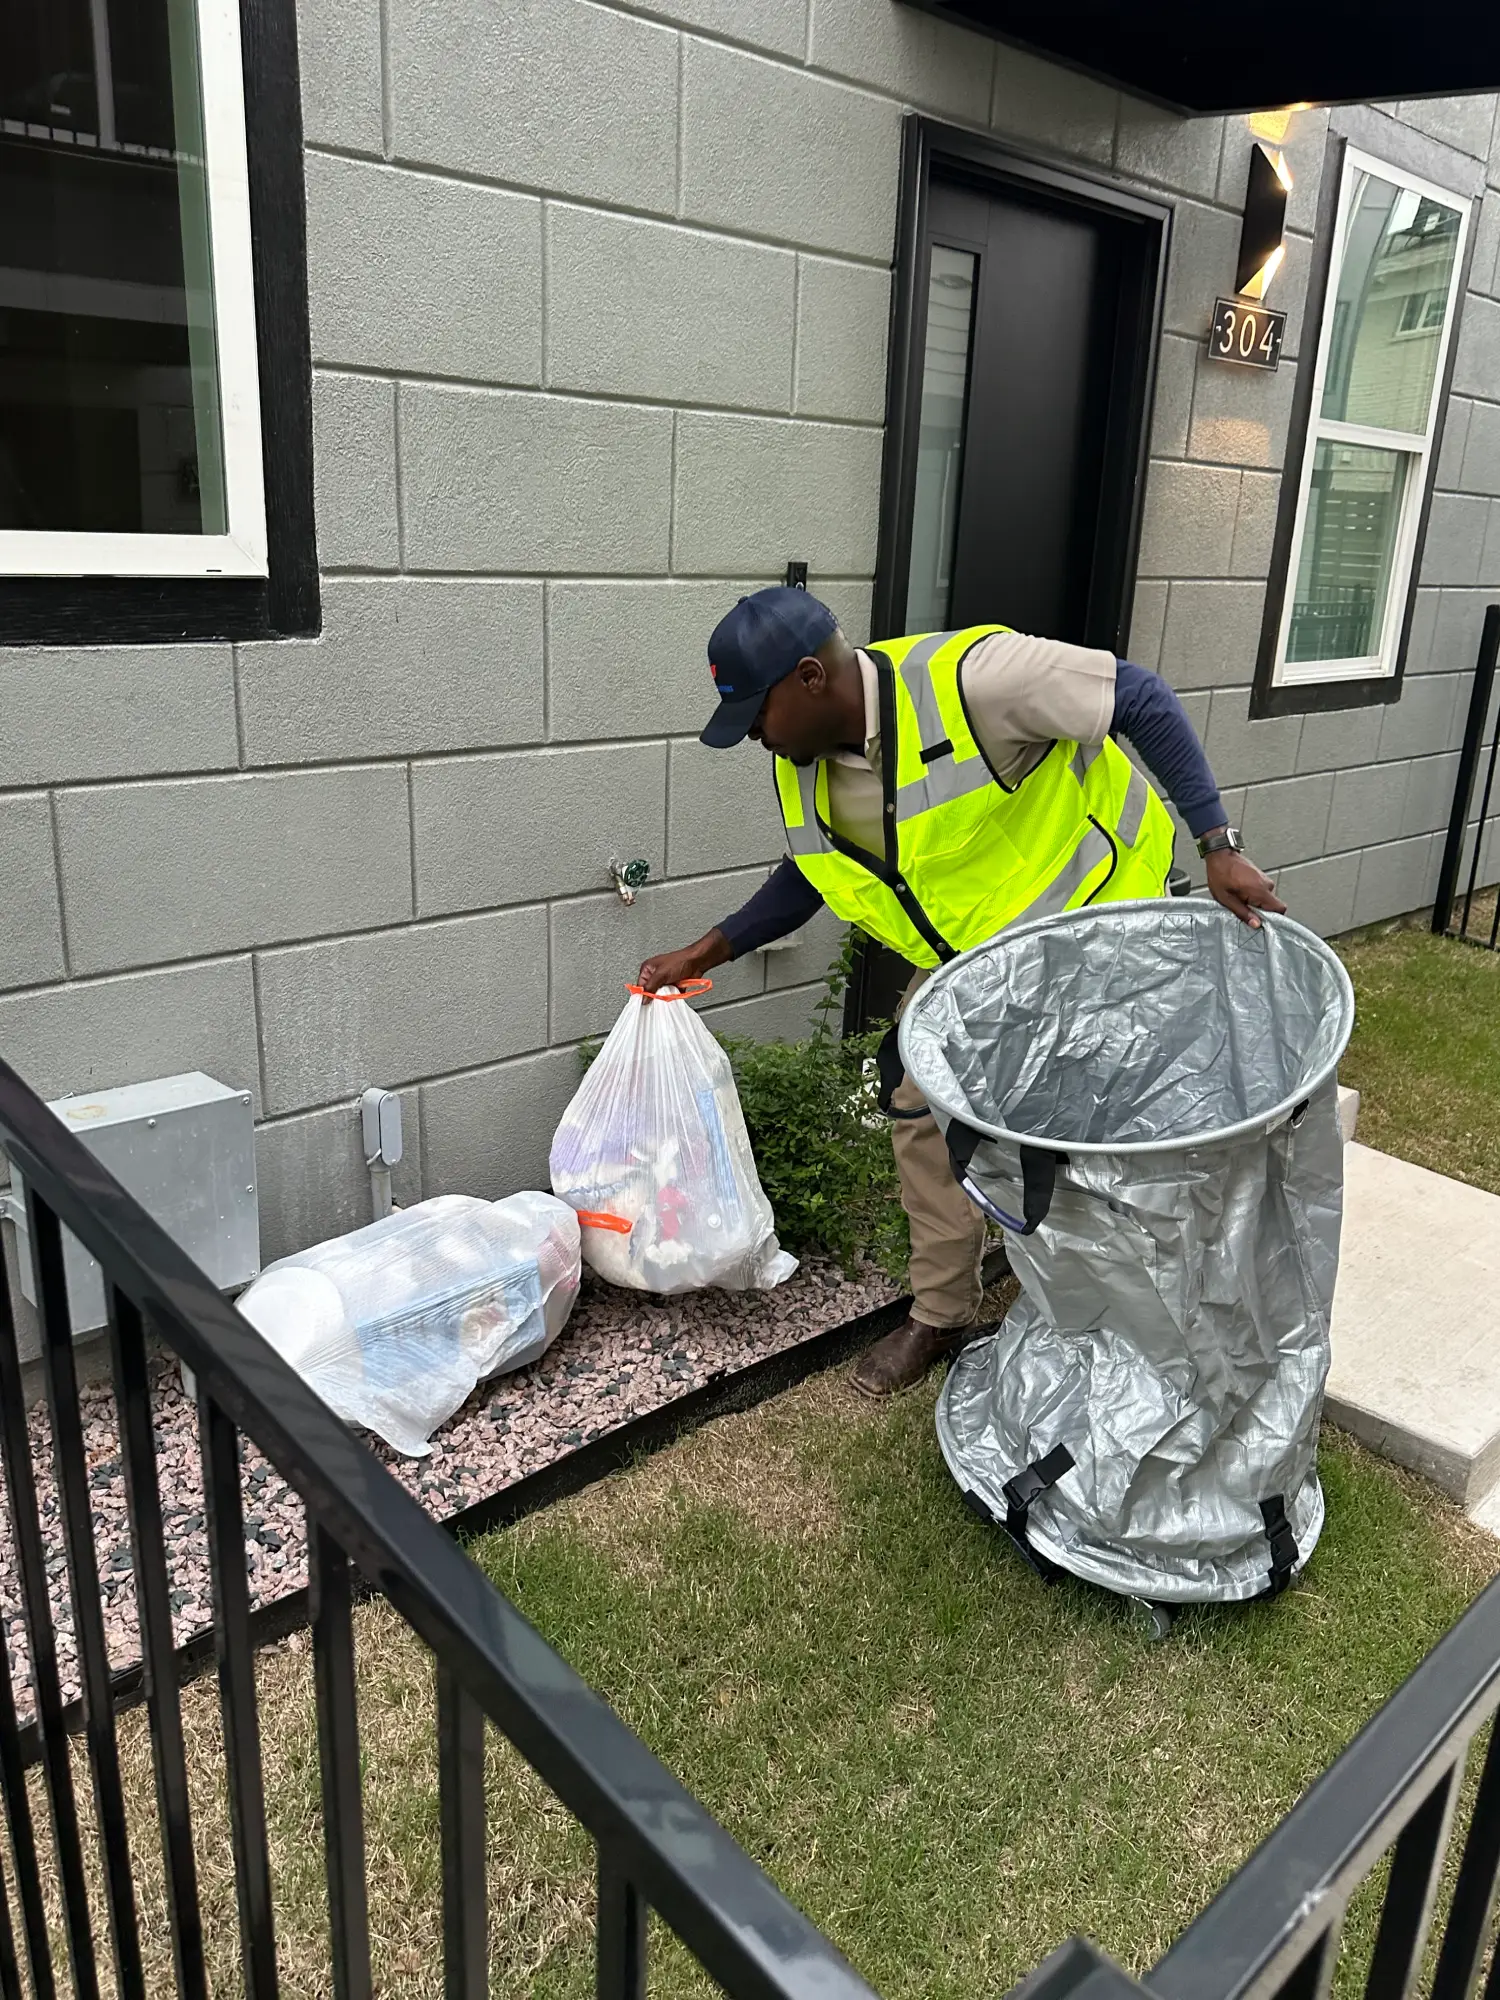
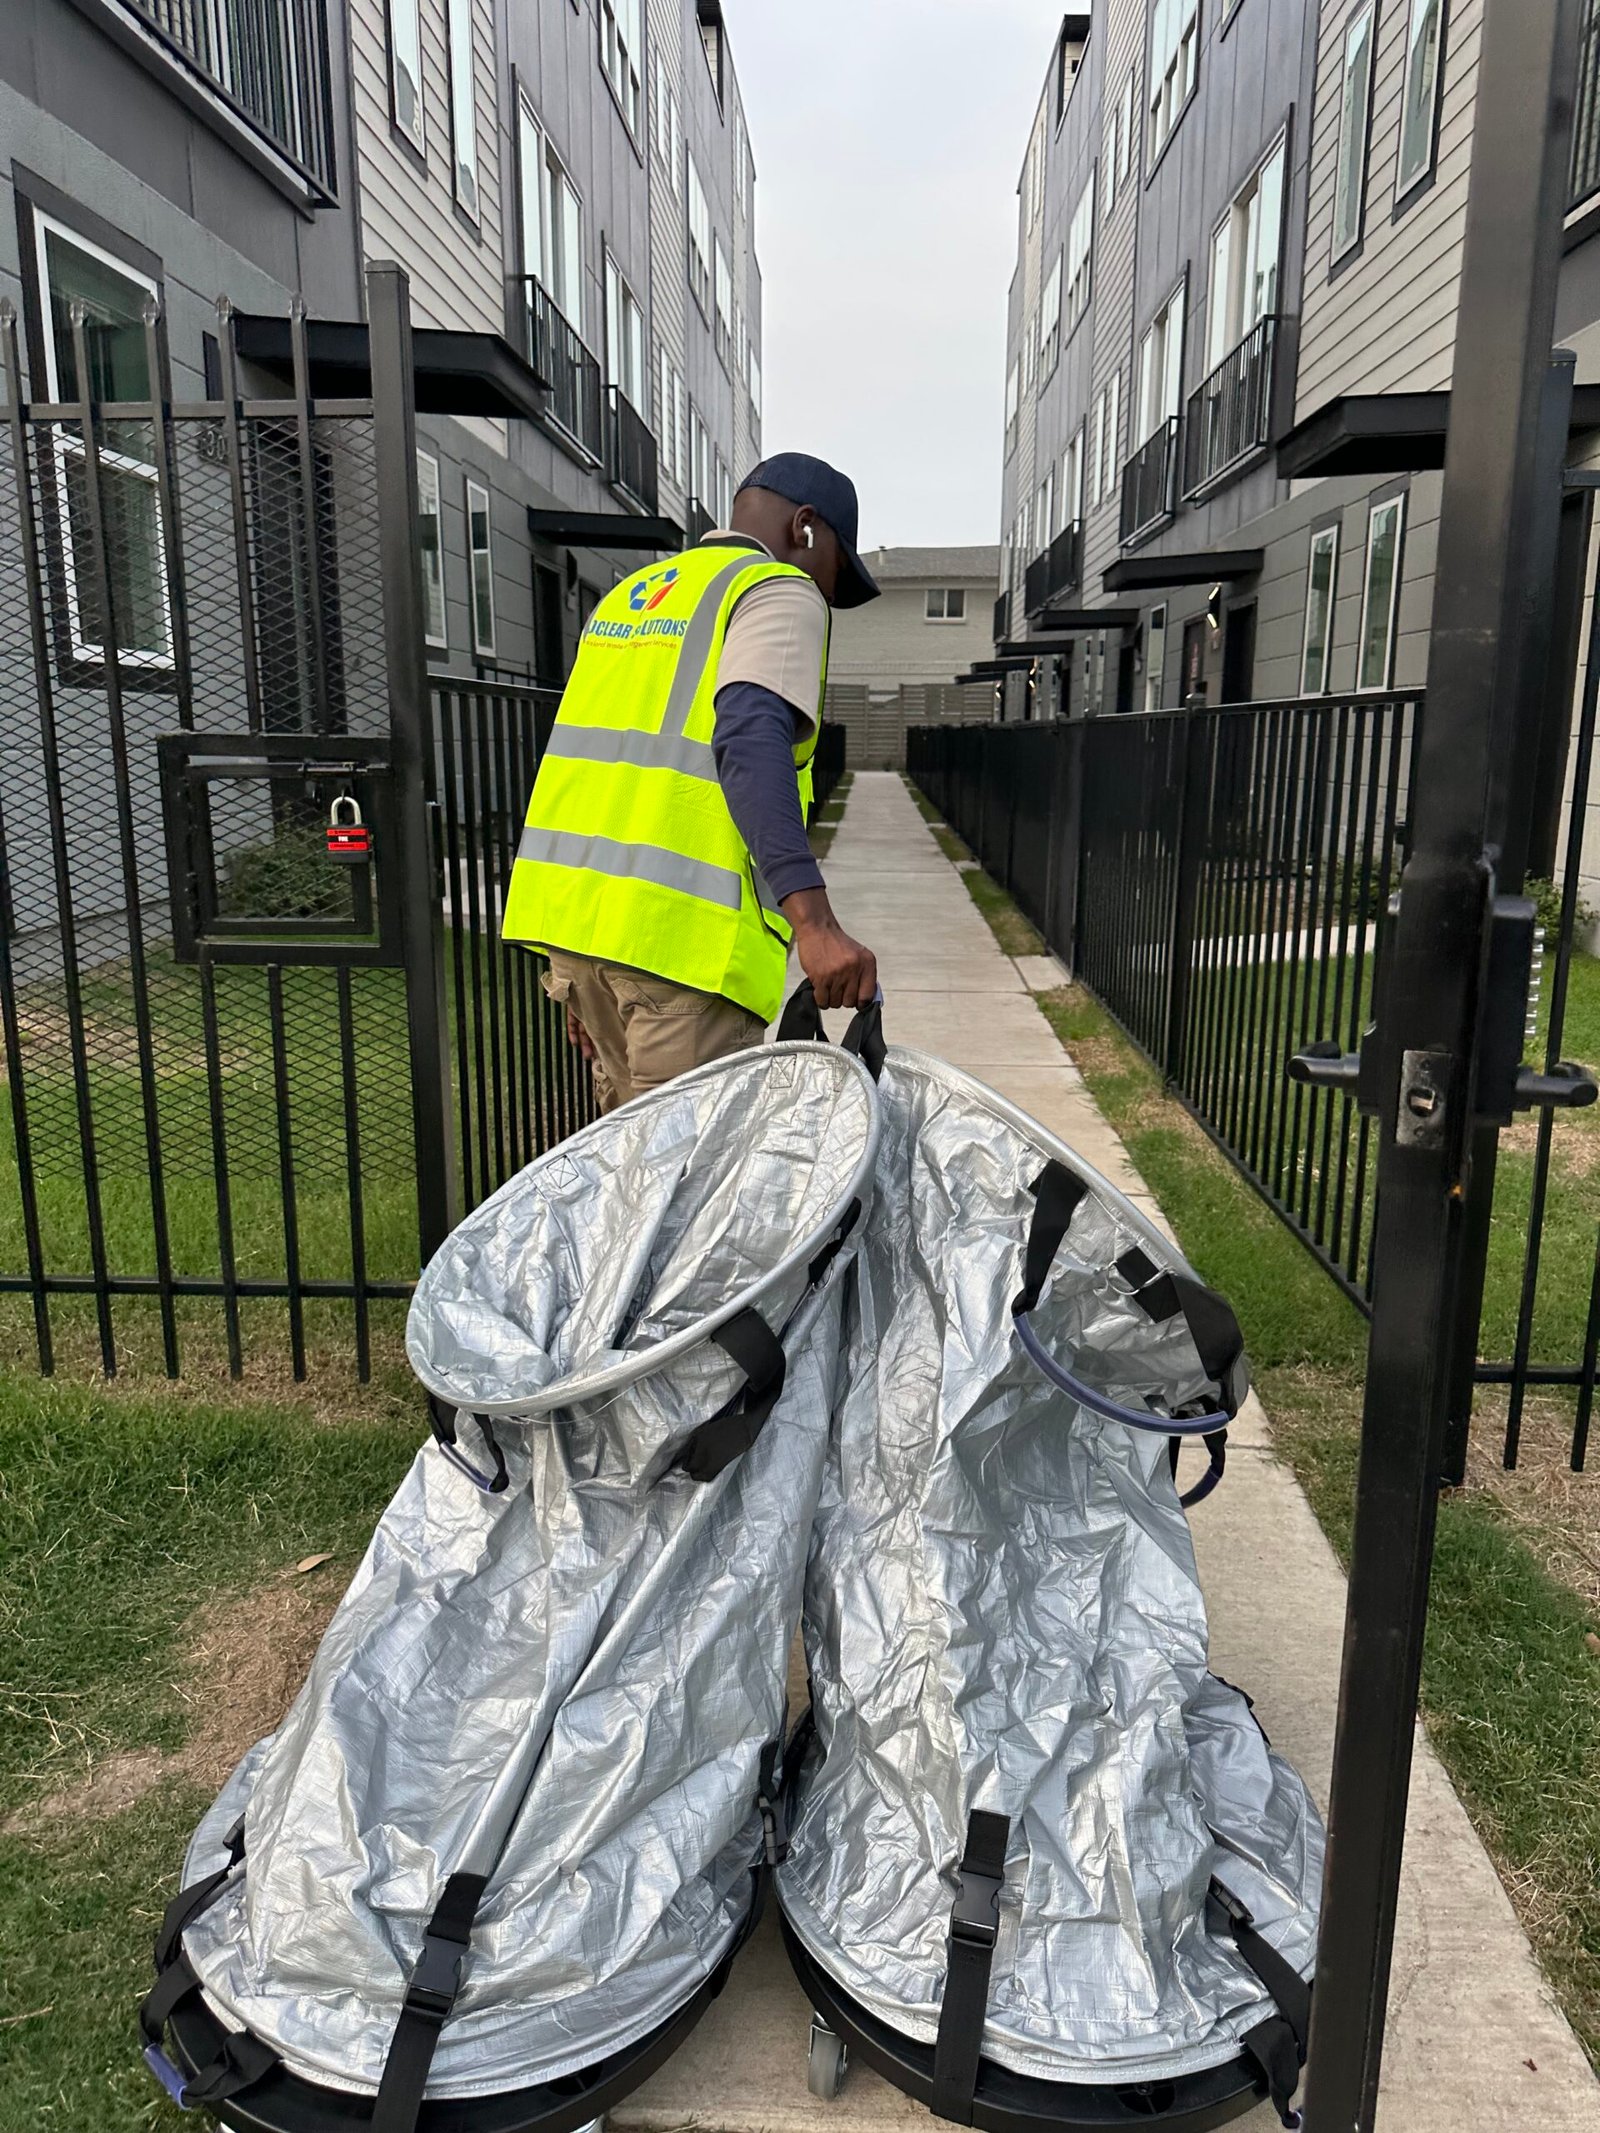
Make sure they perform doorstep pickup plus dumpster-area cleanups
Request proof of General Liability and Workers’ Comp
Ask how they document issues like overfilled bags or loose trash
See if they offer onboarding support for residents and staff
Step 3 – Align on Rules, Safety & Compliance
Set Rules That Protect Your Property
Before you roll out valet trash, tighten up the rules that will live in your lease documents and resident handouts:
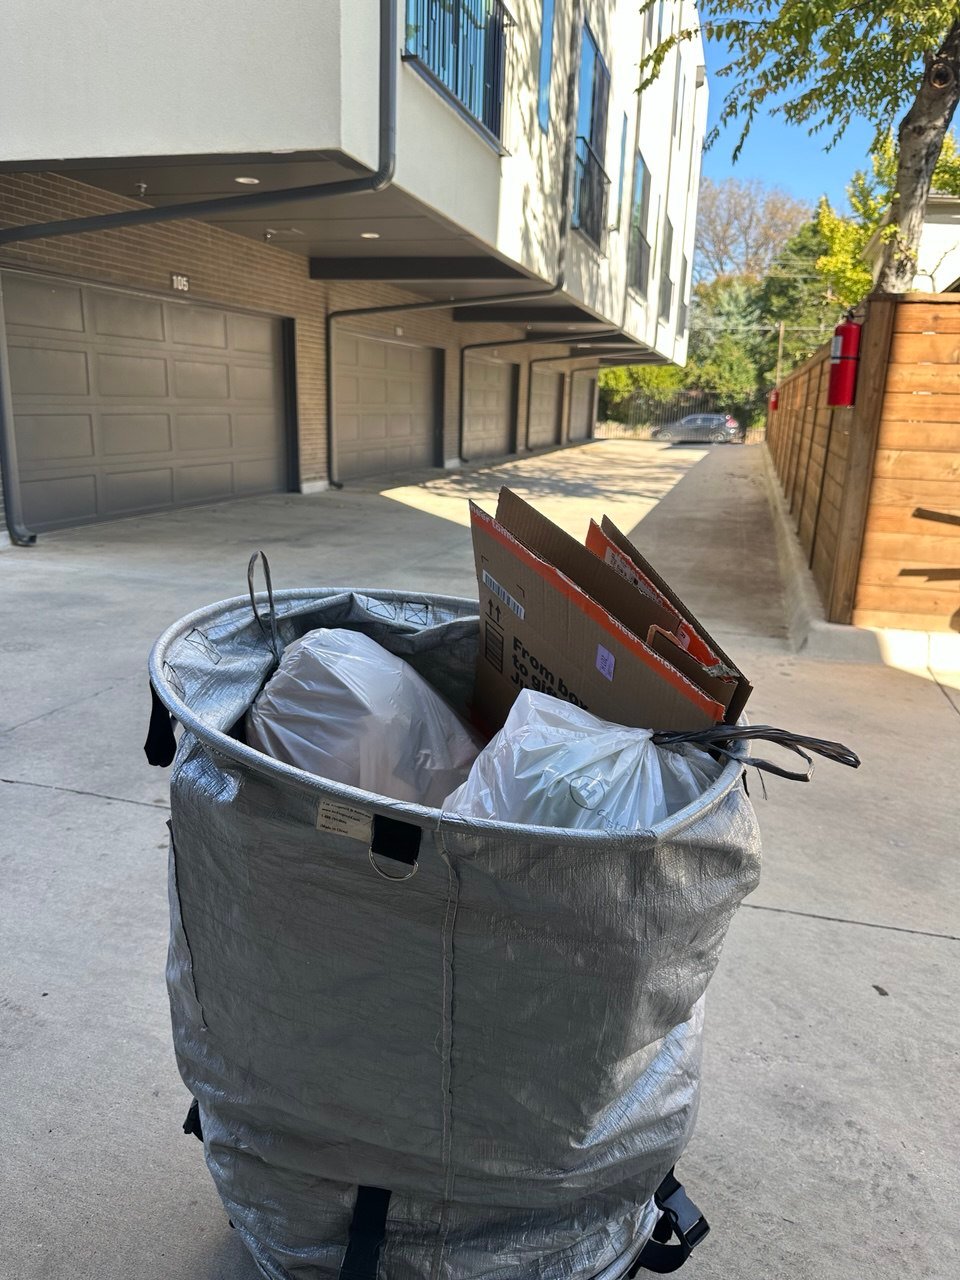
Accepted bag types and maximum weight
Prohibited items (loose recycling, bulk trash, liquids, sharps, etc.)
Placement times and pickup windows
Consequences for repeated violations
If you need a deeper reference on rule-setting, check here: Valet Trash Rules.
Double-Check Safety & ADA Considerations
Walk your corridors and routes with a safety mindset:
Ensure bags don’t block hallways, exits, or egress paths
Confirm carts and equipment can move without scraping walls or doors
Check that ADA pathways stay clear even on heavy trash nights
Agree on how your provider will handle spill cleanups and odors
This is also the perfect time to capture “before” photos so you can show ownership how conditions improve once the program is running smoothly.
Step 4 – Plan Resident Communication Before You Announce Anything
Build Your Resident-Comms Pack
Residents get frustrated when valet trash appears on their bill before anyone explains it. To avoid that, prep:
A friendly announcement email or letter explaining why you’re adding valet trash
A simple “how it works” one-pager in plain language
A visual pickup schedule (nights, times, and holidays)
A short reminder about the benefits (convenience, safety, cleaner property)
- Suppose you want a more detailed playbook for telling residents about valet trash without causing chaos. In that case, our article How to Introduce Valet Trash Services to Residents is already built for that conversation.
Step 5 – Map the Launch Timeline
Build Your Resident-Comms Pack
A calm, confident valet trash launch usually follows a simple timeline:
7–10 days before launch:
Send the announcement
Add flyers to elevators, mail centers, and common areas
3–5 days before launch:
Send a reminder with pickup nights and rules
Have your staff mention it during tours and at the office
Launch week:
Let your provider run a “soft” first night and report issues
Send a supportive reminder (“Here’s how to get the most out of valet trash”)
Week 2–4:
Track issues, missed pickups, and repeat violators
Adjust communication before frustration builds
Step 6 – Prep the Dumpster Area & Grounds
Clean, Safe Disposal Areas Matter
Valet trash doesn’t magically fix a bad dumpster area. Before your first night:
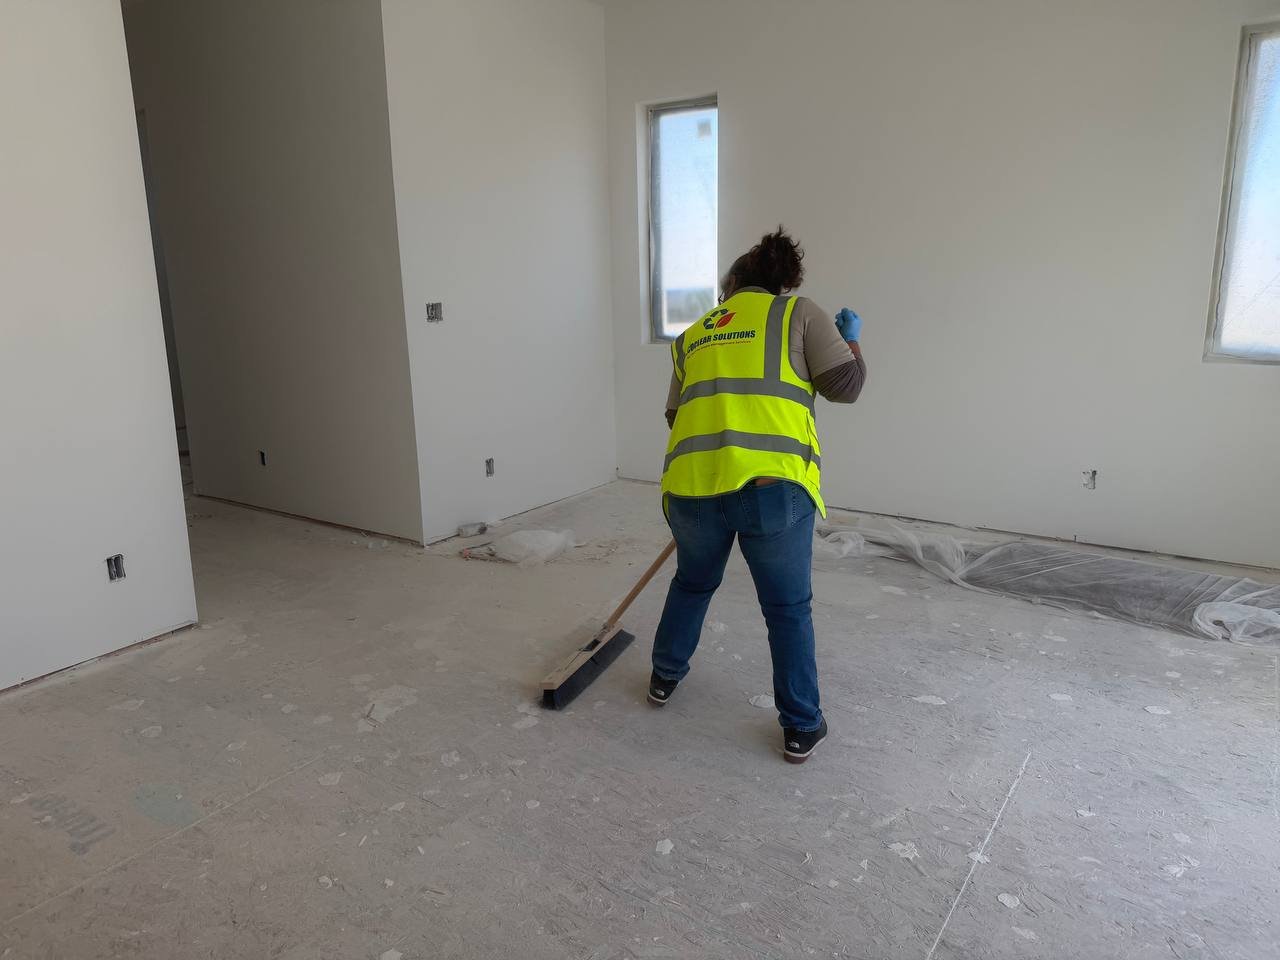
Schedule a deep clean around dumpsters and enclosures
Repair any broken gates, latches, or access doors
Add lighting if the area is dark at night
Decide who owns the nightly policing of bulky items and illegal dumping
Step 7 – Create an Internal Issue-Handling Workflow
Decide Who Owns What
Choose who on staff is the primary contact for valet trash issues
Decide how your team will log complaints (CRM, spreadsheet, help desk)
Set expectations with your provider for response times and re-runs
Maintain a shared list of repeat violators and corrective actions
Step 8 – Give Ownership a Simple Summary
Before you “select a provider,” pull everything into a summary for ownership or your regional:
Projected monthly and annual NOI from valet trash
The provider you selected and why
Key safety and compliance assurances
Rollout timeline and resident comms plan
How your team will measure success (complaints, reviews, photos, NOI)
Common Property Manager Question
Q: What should a property manager have in place before launching valet trash?
A: You should finalize your pricing, choose a vetted provider, confirm safety and ADA compliance, prepare resident communication, and map out a clear issue-handling process. Launches that follow this checklist tend to see fewer complaints and smoother adoption.
| Launch Element | Why It Matters |
|---|---|
| Clear resident pricing | Prevents fee shock and reduces billing disputes |
| Vetted, insured provider | Protects your community from operational and liability issues |
| Safety-aligned rules | Keeps hallways, exits, and ADA paths compliant |
| Resident announcements & reminders | Reduces confusion and early frustration |
| Issue workflow | Ensures complaints are addressed quickly and professionally |
Property Manager Valet Trash Launch Checklist
Set resident pricing, provider cost, and NOI targets
Choose an insured provider with nightly service and reporting
Align on the valet trash rules, safety, and ADA compliance
Prepare resident announcements, rule sheets, and schedules
Clean and prep dumpster areas before launch
Map a clear launch timeline with reminders
Build an internal workflow for complaints and re-runs
EcoClear brings all of this together so your valet trash program feels like a premium convenience, not just another fee.
You don’t have to guess your way through a valet trash launch. With a clear checklist, a provider who actually shows up, and communication that feels human, valet trash becomes one of those quiet amenities that residents come to rely on — and ownership comes to appreciate.
EcoClear Solutions LLC is here to help you roll it out the right way: clean routes, respectful valets, clear reporting, and a launch plan that protects both your residents and your reputation.
If you’re ready to see what this could look like across your community or your whole portfolio, you can start the conversation with a simple request for a quote today.